 WorkBook
A post-dated cheque is one you cannot bank yet. Record it when you get it, so you know what is coming and what a customer still owes.
Steps.
Click Banking, open the Cheques tab and click Receive Cheque.
Choose the Customer, enter the Amount, the Cheque number and the Cheque bank. Set Cheque date to the date written on the cheque.
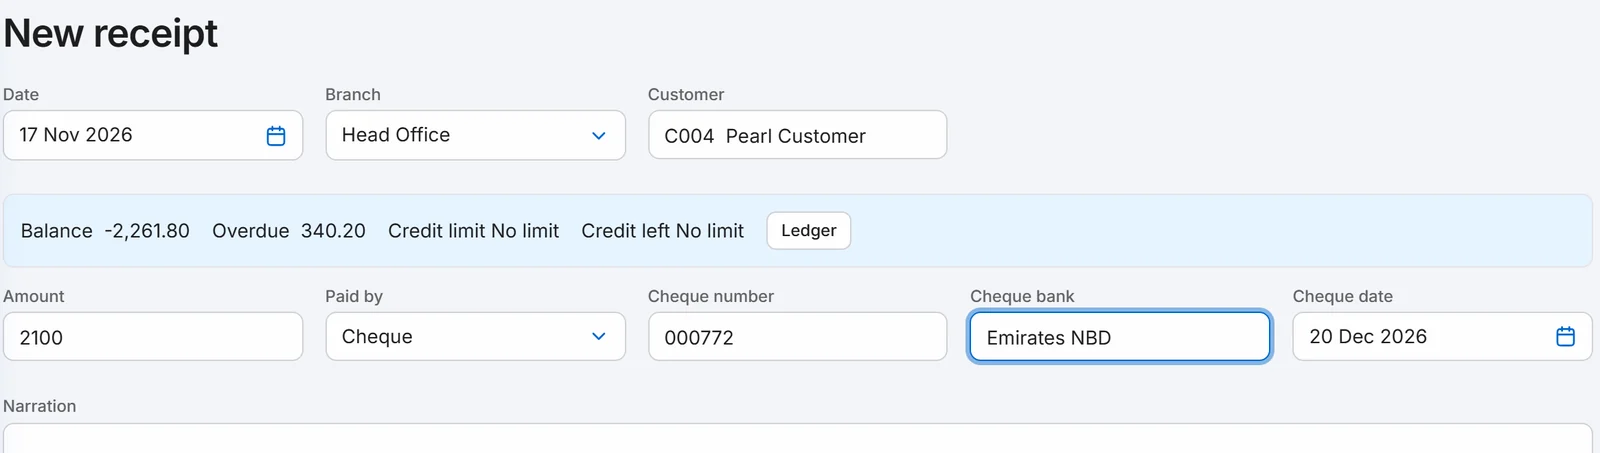
Click Post. The cheque shows as In hand, and the invoices it covers are settled.

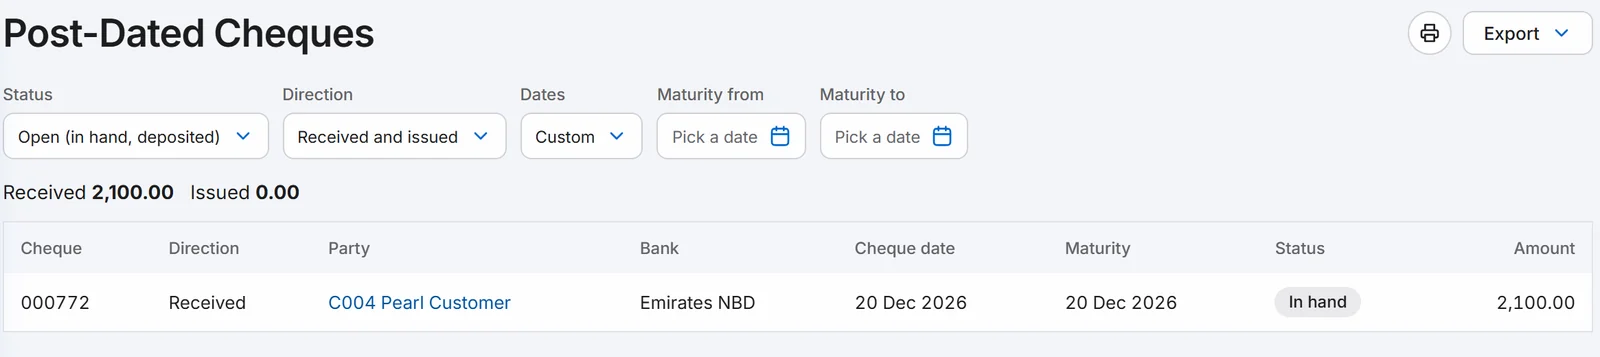
To see every cheque still open, click Reports, then Post-Dated Cheques. The totals at the top split received from issued.
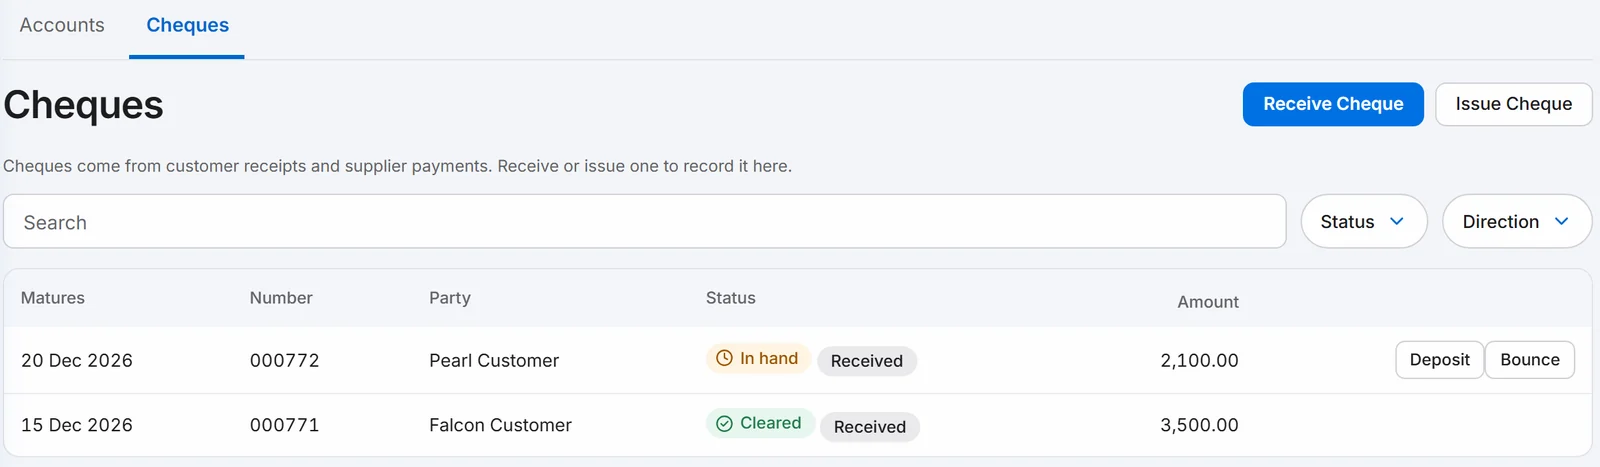
When you take the cheque to the bank, click Banking, open the Cheques tab and click Deposit on its row.
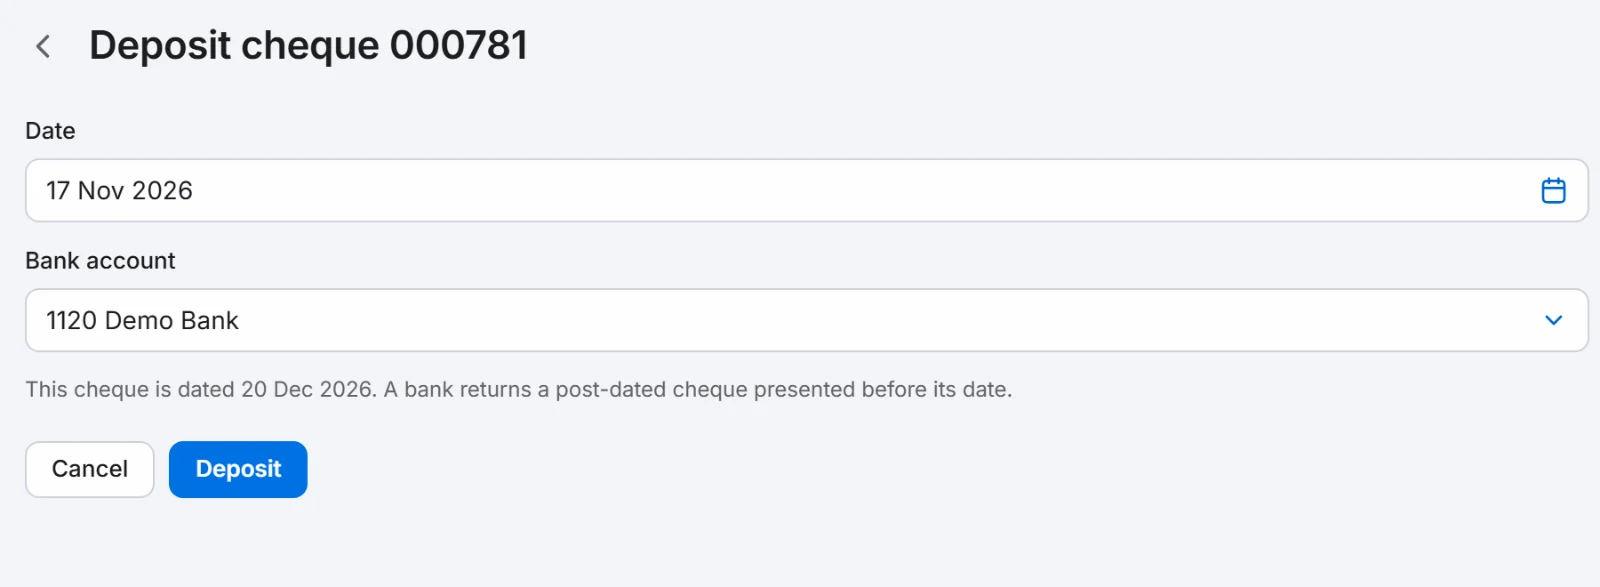
Check the date and Bank account, then click Deposit. If the cheque date has not come yet, a note under the account says so.
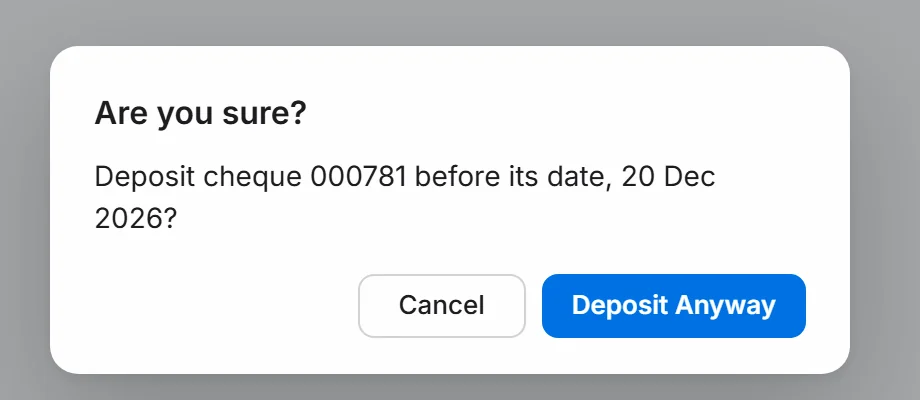
When WorkBook asks whether to deposit the cheque before its date, click Deposit Anyway to go on, or Cancel to wait.
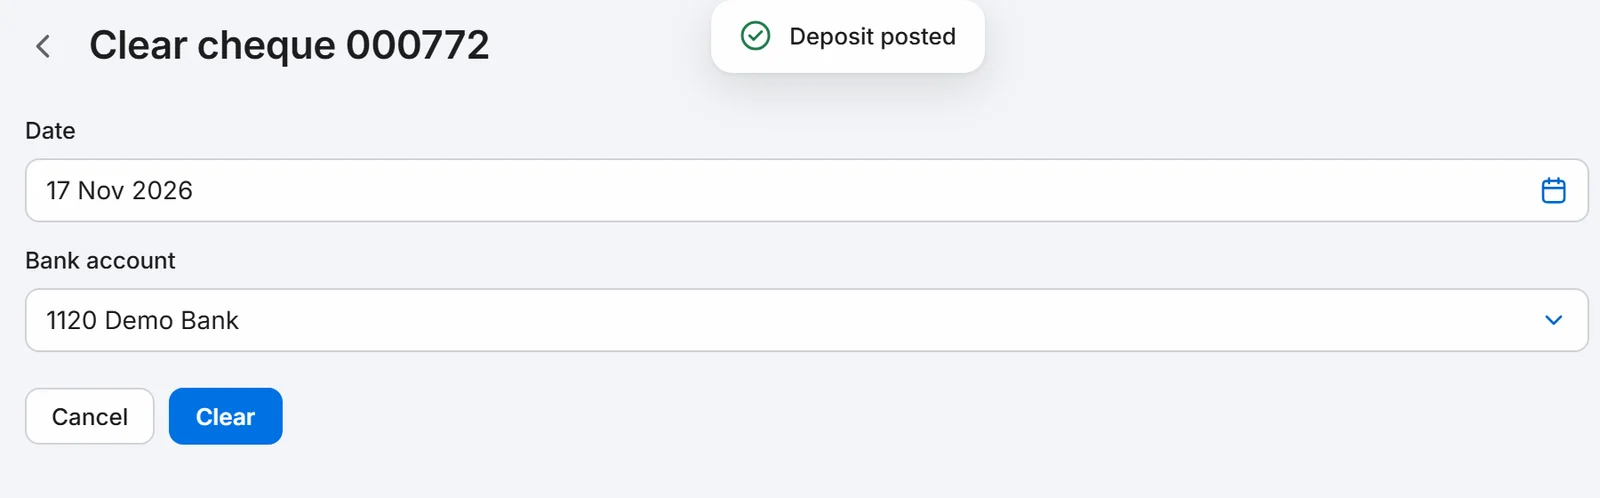
When the money is in the bank, click Clear on the same row. Check the date and the account, then click Clear.
Good to know.
- A bank usually returns a post-dated cheque presented before its date. That is why WorkBook asks before it deposits one early.
- If the cheque bounces, click Bounce instead of Clear.
- Cheques in hand on the Banking screen adds up cheques you have not deposited. Cheques issued adds up your cheques to suppliers that have not cleared.
- To give a supplier a cheque, click Issue Cheque on the Cheques tab. It also asks for a Maturity date.
- On the Post-Dated Cheques report, change Status to see cleared or bounced cheques.
Related.
- Import a bank statement and reconcileOpen Banking, choose the account and import the statement CSV. Confirm the suggested matches and create entries for the lines WorkBook cannot match.
- Record a payment from a customerOpen the invoice and choose Record payment. Check the amount and how it was paid, then choose Post. The invoice shows Paid.