 WorkBook
The setup questions at first start create your company, a starter chart of accounts and VAT codes. This guide covers checking them and filling in what appears on your documents.
Before you start.
- You need the Admin role.
- Have your logo ready as a PNG or JPG of at most 1 MB.
Steps.
Open Settings and choose Profile.
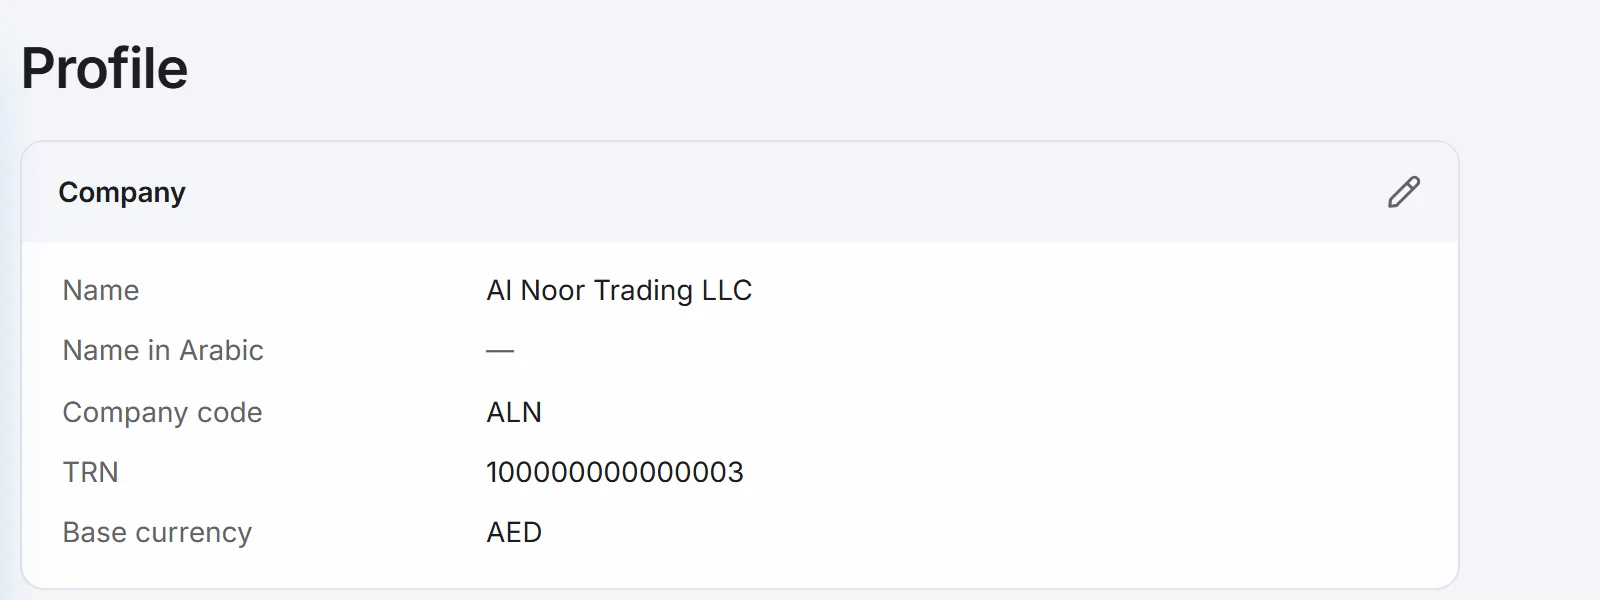
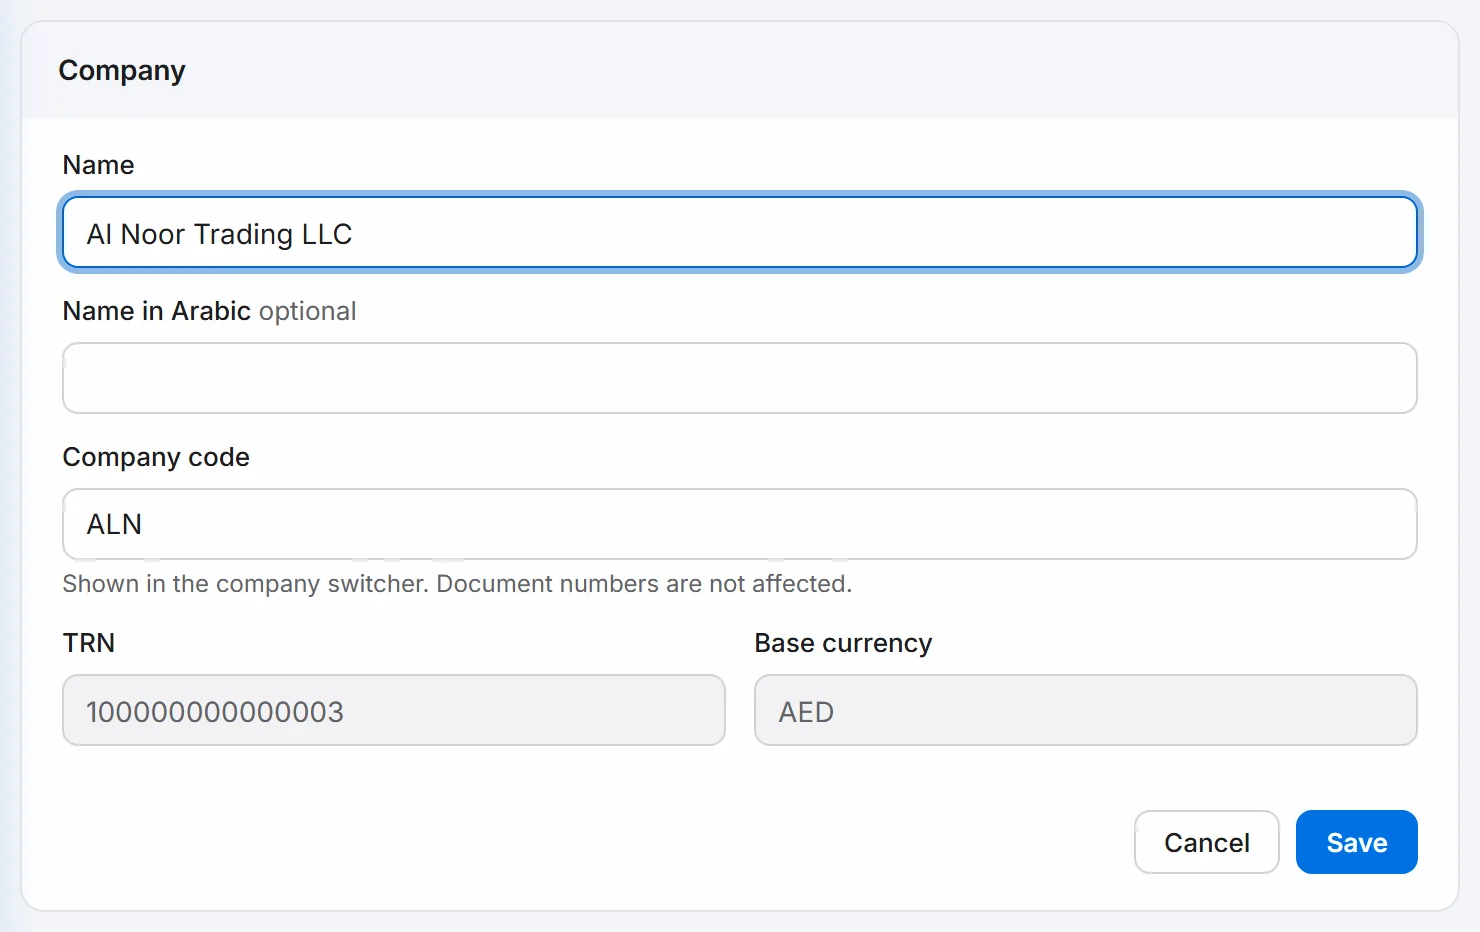
Choose the pencil on Company, change the name, the Arabic name or the company code, and choose Save. The TRN and base currency are fixed here.
Choose the pencil on Address and contacts and fill in the address, phone and email that print on your documents.
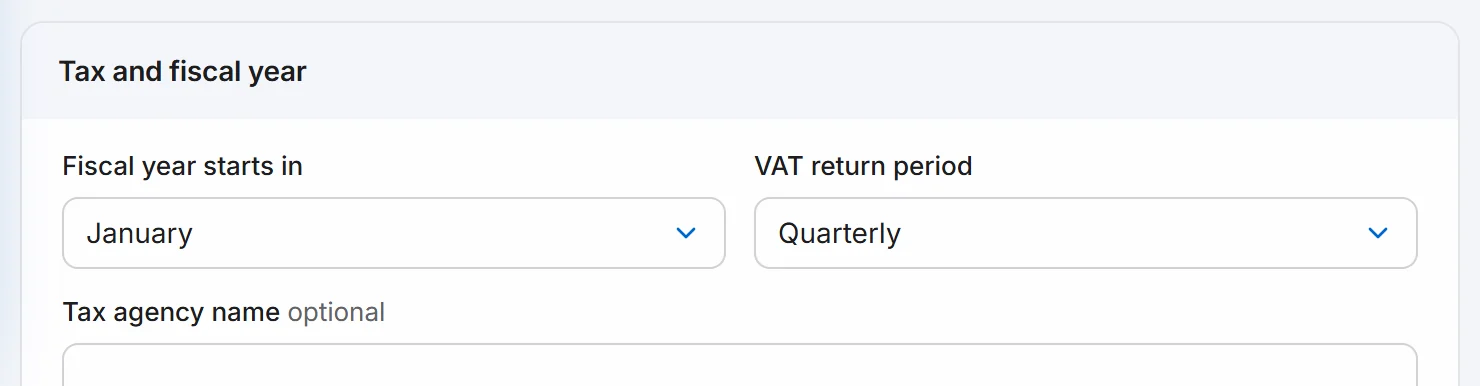
Choose the pencil on Tax and fiscal year to set the month your fiscal year starts and whether you file VAT monthly or quarterly.
Open Branding, choose the pencil on Logo, pick your file and choose Save. Use the pencil on Document accent colour to change the colour of headings on printed documents.

Open Branches and Locations. Each branch has stock locations under it. Choose New Branch to add a branch.

Type the branch name, choose its emirate and choose Continue. Pick how it prints, then choose Add branch. It gets a first stock location automatically.

To add another stock location, choose the three dots on the branch, then New Location.
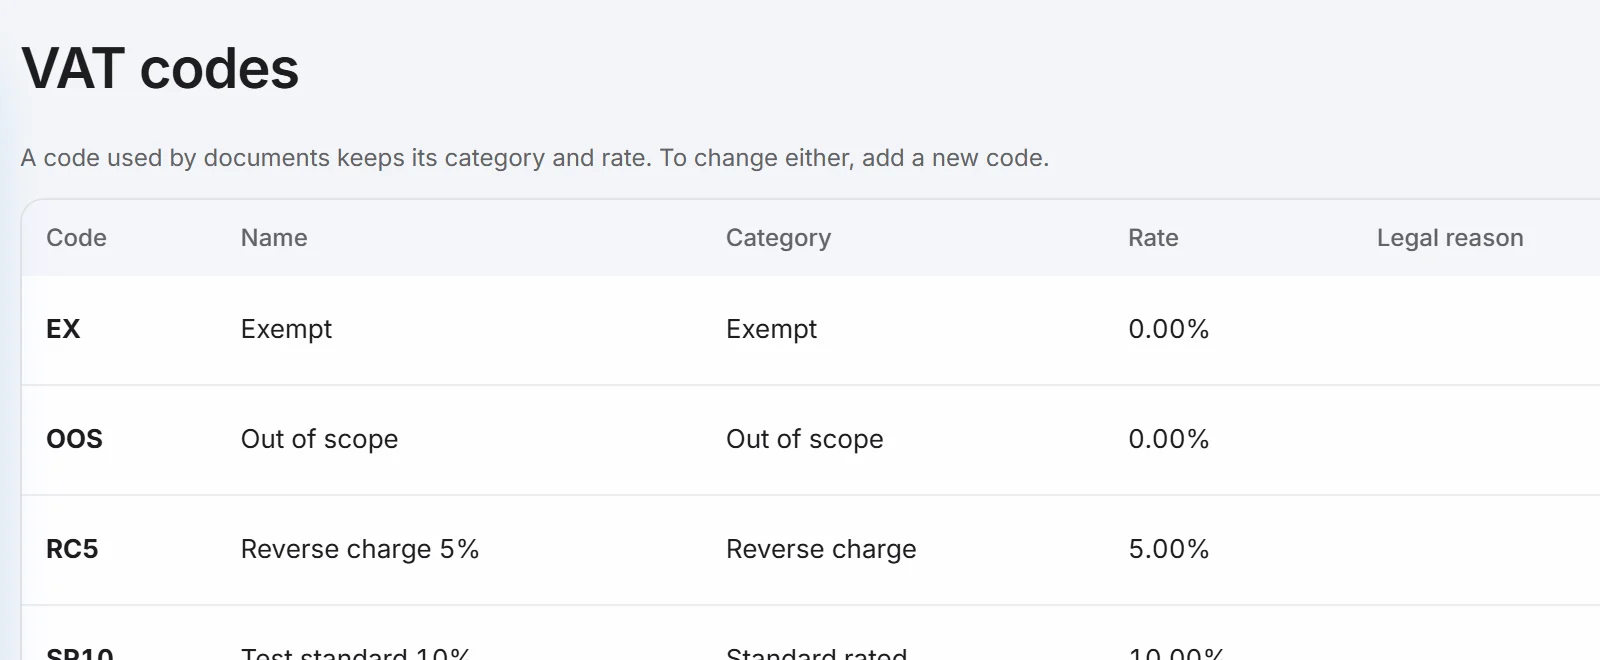
Open VAT Codes to see your codes. Choose New VAT Code to add one, with its category, rate and the boxes it fills on the VAT return.
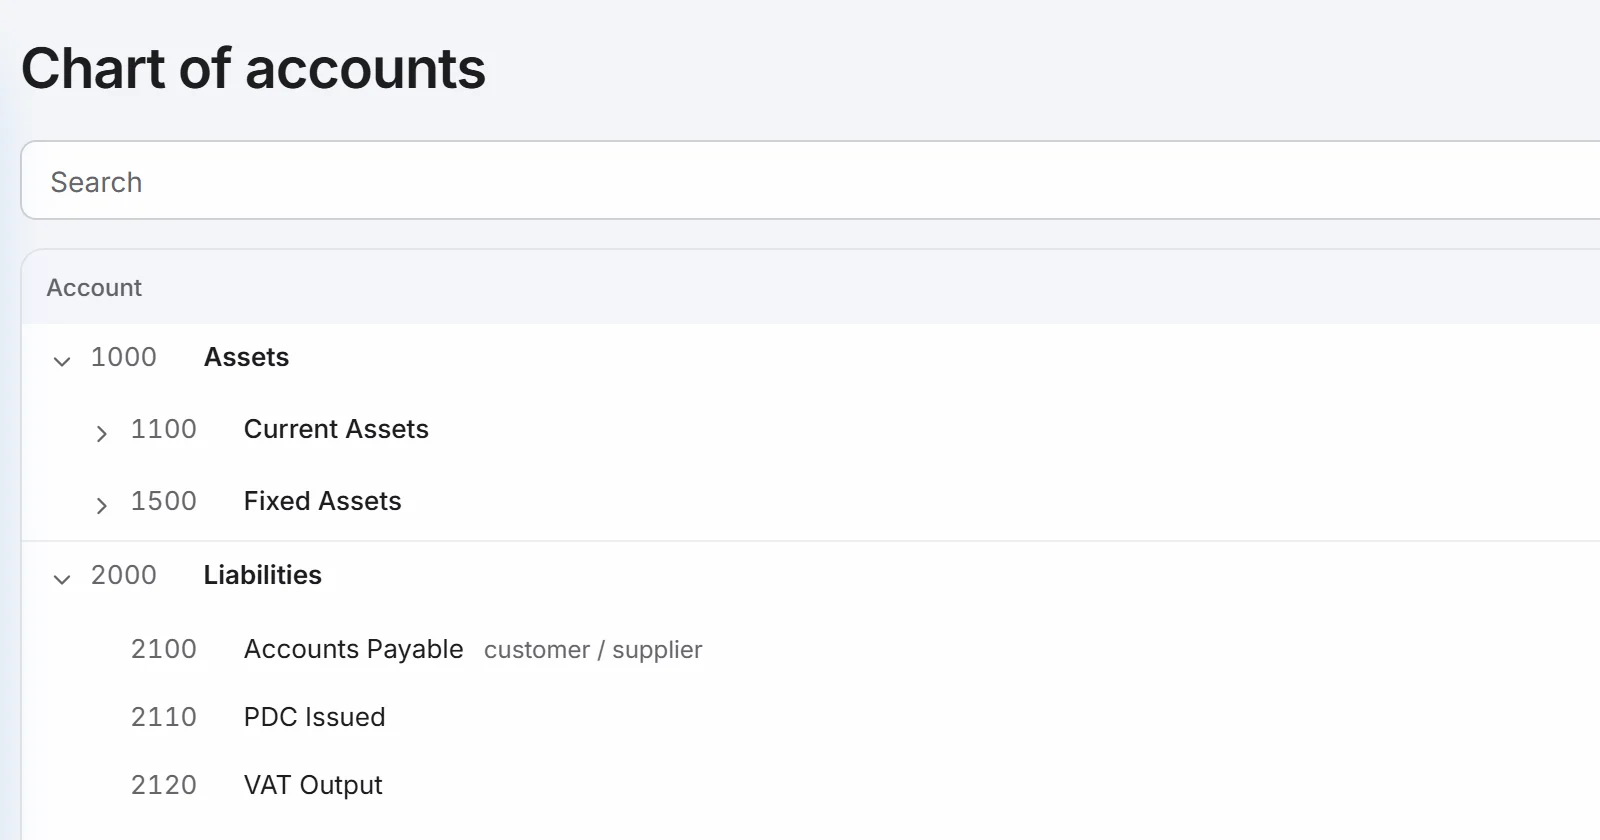
Open Accounting, then Chart of Accounts. Choose New account to add an account to the list.
Good to know.
- A branch code cannot change once documents use it, and a branch or location with documents cannot be deleted.
- A VAT code that documents use keeps its category and rate. To change either, add a new code.
- A branch address, when you give one, replaces the company address on that branch's documents.
- Your licence may limit how many branches you can add. The Branches page tells you.
Related.
- Bring in your opening balancesDownload the Excel workbook in Settings, fill in your balances, customers, suppliers, items and stock, add the file to check it, then import it once.
- Add users and set their rolesOpen Settings, then Users and Roles, choose New User, pick a role and, if you like, one branch. A user limited to a branch works only in that branch.
- Install WorkBook on a Windows PCRun the one-click installer on a 64-bit Windows PC, open WorkBook from the desktop shortcut, and answer the setup questions to create your owner login.